Your lab report arrives from the doctor: 20 values, abbreviations, a brief assessment. Everything within normal limits, they say. But what does that mean for you — today, in three months, compared to last year?
That is exactly where biomarker tracking starts. This guide shows you how to enter your first measurement in lab2go, what to pay attention to, and how to turn individual values into real insights.
Why Track Blood Values — and Not Just Get Tested
A single lab value is a snapshot. Like a photo taken on one specific day: useful, but limited without context. Three concrete reasons why regular tracking delivers more than the annual routine check.
See trends before problems develop. Values can move in the wrong direction slowly while still staying “within the normal range.” Ferritin dropping from 65 to 28 ng/ml over 18 months is technically still normal — but the trend clearly shows which way things are heading. If you only know one value, you cannot see that.
Measure the effect of therapy and supplements. You have been taking vitamin D3 + K2 for three months. Has your 25-OH vitamin D actually improved? By how much? Has your calcium changed as a result? Without a before-and-after comparison, you have no idea. Tracking makes interventions measurable.
Document longevity progress. Anyone optimizing their health over the long term needs data over time. Which markers have improved over the past two years? What has barely changed despite your efforts? These questions can only be answered with a time series — a single value cannot tell you.
What You Need to Get Started
You do not need a specialist or an expensive lab. Most paths lead to a lab report in paper or PDF form.
Sources for your first lab values:
- GP appointment with blood draw (standard health insurance usually covers a base panel)
- Online lab or direct-order lab (often cheaper for extended panels)
- Occupational health check
- Old blood test results from recent years — these can be entered retrospectively
Before your first blood draw, read the blood draw protocol guide to avoid common mistakes (wrong time of day, no fasting, exercise the day before).
The 5 Steps to Your First Measurement in lab2go
Step 1: Have a Baseline Lab Panel
Before you start tracking, you need a starting panel — a collection of markers that gives you a solid baseline picture. Not a 50-marker overload, but more than three individual values.
A useful base panel covers:
| Area | Markers (examples) |
|---|---|
| Blood count | Hemoglobin, MCV, MCH, leukocytes, platelets |
| Inflammation | hsCRP, optionally homocysteine |
| Lipids | Total cholesterol, LDL, HDL, triglycerides |
| Glucose | Fasting glucose, HbA1c |
| Thyroid | TSH, fT3, fT4 |
| Iron | Ferritin, transferrin saturation |
| Liver | ALT/GPT, GGT |
| Vitamins | 25-OH vitamin D, optionally B12, folate |
The full recommendation list is in the biomarker baseline checklist. If you do not have all markers yet: no problem. Start with what you have.
Step 2: Load PDF or Image into lab2go
In lab2go, you can enter lab values in two ways:
PDF import with OCR. You upload your lab document. The OCR recognition reads the values automatically and suggests the corresponding markers. You review the results and confirm them.
Manual entry. You enter each value individually. This takes longer but is more precise — especially for non-standard lab formats or handwritten reports.
Recommendation: use the PDF import as a starting point and check all automatically recognized values manually. Number recognition errors do occur, especially with decimal places.
Step 3: Review Markers and Capture Context
After the import, the date, lab, and recognized values are set. Now comes the part most people skip — and that makes all the difference later.
Capture context:
- Blood draw date (not the report date)
- Lab — which lab, branch if relevant
- Fasting status — yes or no, how many hours
- Special circumstances — illness the week before, intense training the day before, current supplementation
An example: your ALT/GPT is mildly elevated — 52 U/L. Did you do a hard leg workout yesterday? That is the likely reason, not a liver problem. Without a context note, you will not remember this when you look at the trend three months from now.
Step 4: Categorize Markers
lab2go assigns each marker to a panel: lipids, thyroid, blood count, inflammation, vitamins, etc. This categorization helps you maintain an overview and analyze panels as a group.
If a marker is not automatically assigned or you want to move it to a different panel, you can adjust this manually. Consistent categorization pays off once you are comparing multiple measurements.
Step 5: Add Notes
This is the underestimated step. Add brief notes with every measurement:
- Current supplement stack (dose and product)
- Training frequency and intensity over the past 4 weeks
- Current medications
- Special circumstances (travel, sleep deprivation, illness)
In lab2go you can also set up your supplement stack and link it to measurement time points — so you can see directly what you were taking at the time of each measurement.
What lab2go Does With Your Data
After your first entry, lab2go starts putting your values in context. This happens on several levels.
Reference range vs. optimal range. Every marker shows you two thresholds: the lab reference range (what is measured in 95 percent of the population) and the optimal range (where studies show the best function). Vitamin D “within normal range” from 20 ng/ml is not the same as “optimal” at 40–60 ng/ml. Read more in the guide to reference ranges vs. optimal values.
Trend over time. As soon as you have two measurements, a trend line appears. You can see immediately: is the value moving in the right direction? By how much? How fast?
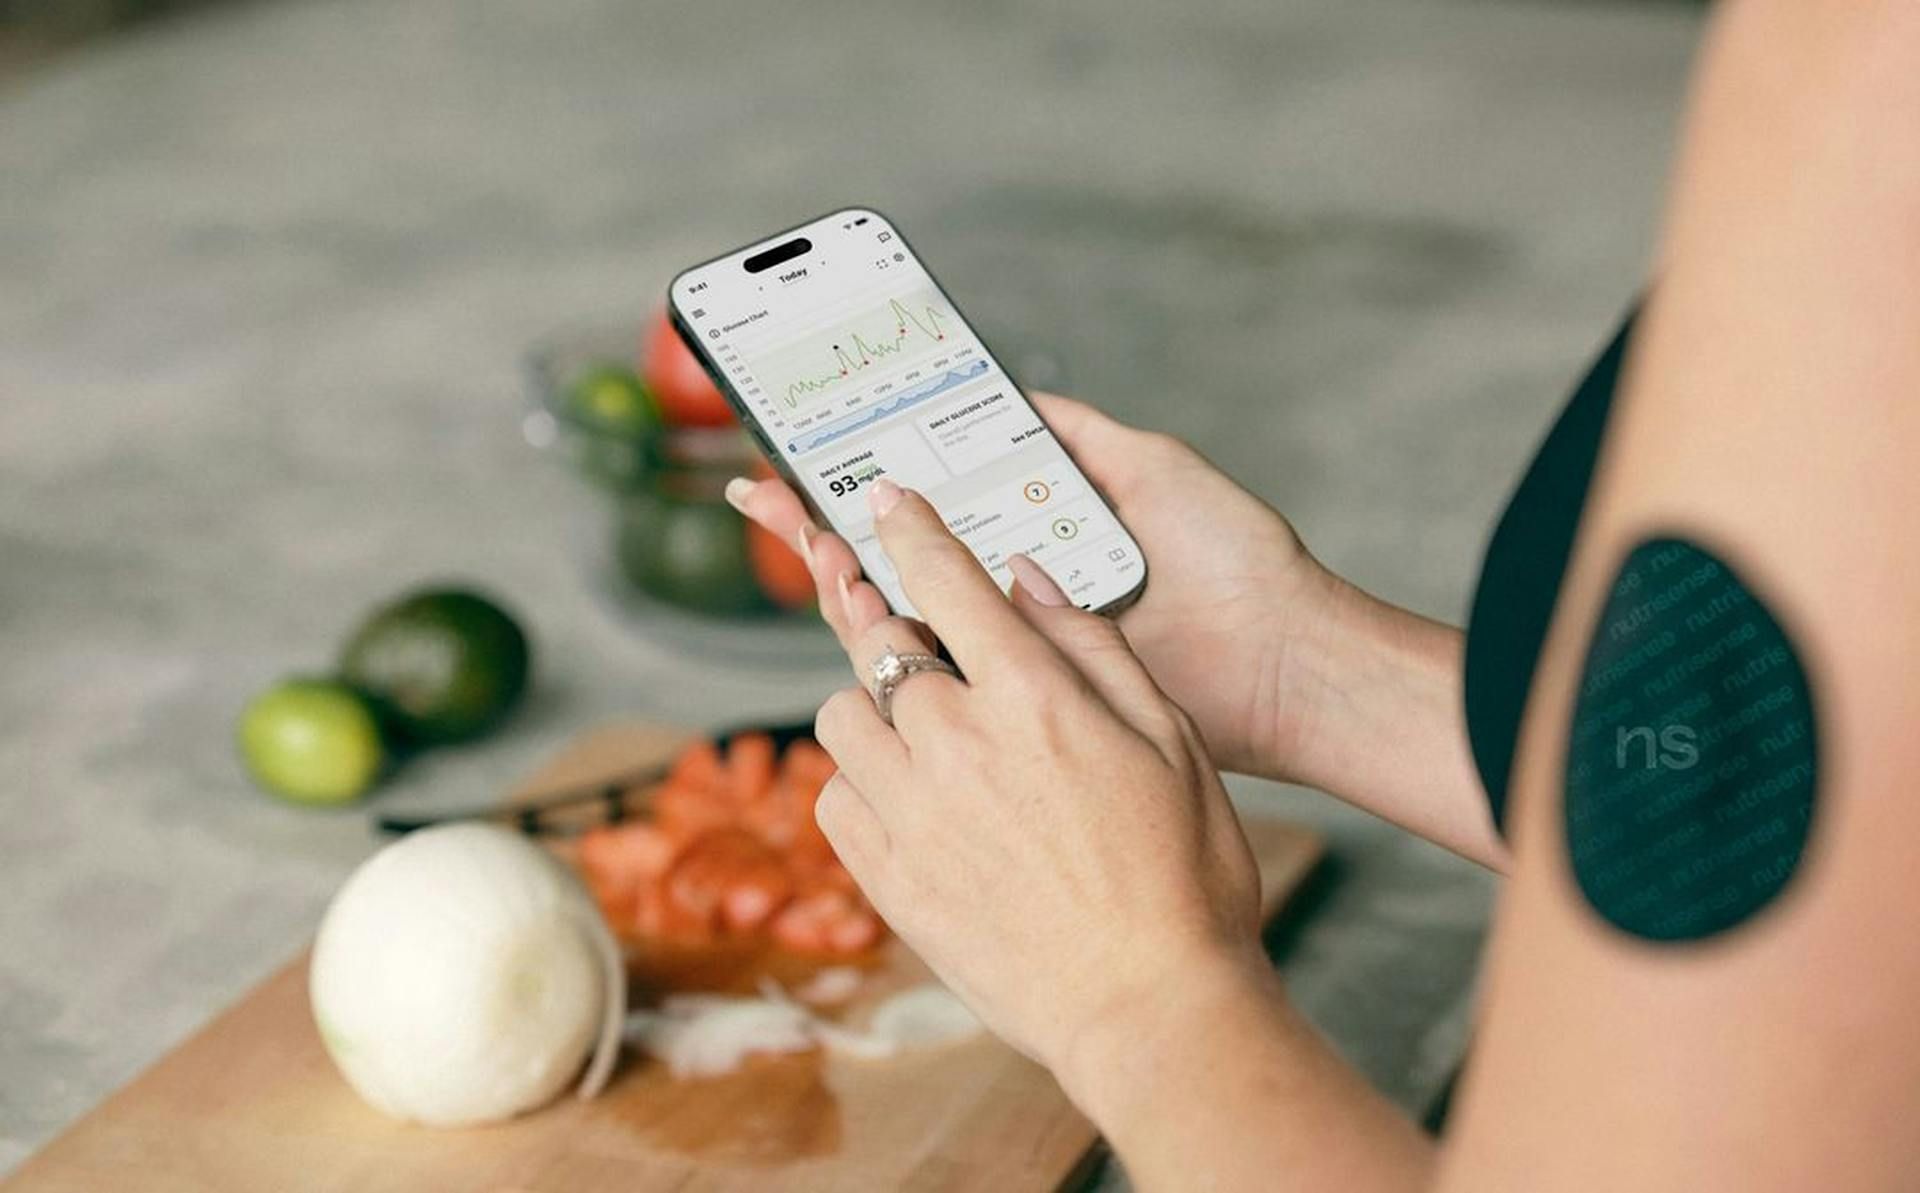
Cross-correlations with lifestyle data. If you have wearable data or manual entries for sleep, nutrition, or training, lab2go can surface connections — for example, whether your ferritin correlates with your training intensity.
Export for your doctor or therapist. All data can be exported as a clear summary — ideal for your next medical appointment. No searching for old reports, no trying to remember values from memory.
What You See After Your First Measurement
Even after a single measurement, lab2go gives you three concrete pieces of information.
Values outside the reference range. These stand out immediately — color-coded and explained. Not as a diagnosis, but as a signal to investigate. A CRP of 3.2 mg/L is elevated — but why? Chronic inflammation, an infection last week, intense training? Context decides.
Values in the grey zone. These are values that are formally within the reference range but suboptimal. A TSH of 3.8 mIU/L is within the lab normal range, but many thyroid specialists prefer 1.0–2.5 mIU/L for optimal function. lab2go shows you this distinction.
Identify missing markers. Which markers are absent from your panel for a complete baseline? lab2go points out gaps — so you know what to add at your next appointment.
After 2–3 Measurements: How to Read Trends
From the second measurement onward, the actual tracking begins. Three months or half a year later: how has your panel developed?
Interpreting trends correctly. A value that has improved by 10 percent is not a revolution. A value that drifts continuously in one direction across three measurements is a signal. Direction and consistency matter more than individual changes.
Compare context. What changed between measurement 1 and measurement 3? New supplement? More exercise? Less stress? That is exactly what the notes from step 5 are for. Without context, a trend is just a curve. With context, it is an explanation.
Lab consistency. Compare measurements from the same lab when possible. Different measurement methods produce slight deviations — this can mask a real trend. If you switch labs, take a crossover value at the same time from both.
For the methodology behind long-term tracking, read the guide on long-term biomarker tracking.
The Most Common Beginner Mistakes
Overinterpreting a single measurement. Elevated ferritin once is not an iron storage problem. Elevated CRP once is not a chronic inflammation signal. Wait for a second measurement before drawing conclusions.
Not documenting context. You get blood drawn, enter the values — but forget that you were sick three days before and went for a long run the day before. Three months later, you no longer remember. Context makes the measurement interpretable.
Switching labs without a crossover value. You switch from your GP to an online lab. The values are slightly different — are those measurement differences or real changes? Without a parallel comparison measurement, you cannot tell.
Trying to optimize too many markers at once. If you start six supplements after your first measurement, you cannot say three months later which one made a difference. Prioritize: one or two interventions per cycle.
Tip: Digitize Old Blood Tests First
Before focusing on new measurements: check your files for old lab reports. The past 2–3 years, maybe longer. Each one is valuable.
When you enter these historical data points, you immediately get a trend dataset — without waiting years for new measurements. A value from two years ago and a current value create a trend line. For many markers, that is more valuable than two closely spaced current measurements.
Data Privacy: Your Data Belongs to You
Health data is sensitive. lab2go processes all data in compliance with GDPR on European servers. Your values are not used for advertising, not shared with third parties, and not used for model training. You can export all your data at any time and delete your account.
Next Steps After Your First Tracking Session
Once your first measurement is in place, there are three useful next steps:
-
Set up your supplement stack. Document what you are currently taking — dose, product, timing. This way, with every follow-up measurement, you can see directly what you were supplementing during the measurement period. This makes differences in trends interpretable.
-
Connect your wearable (if you have one). HRV, sleep, activity — seeing these lifestyle data points in relation to your blood values opens a new level of insight. Not every wearable is compatible, but many common devices can be connected.
-
Schedule your re-test appointment. Decide now when your next blood draw should be. Three months after starting a new supplement? Six months as a standard interval? Whoever plans the appointment actually keeps it.
Check the lab2go features or compare which plan fits your tracking intensity.
Your first lab value in lab2go is not an endpoint — it is the starting point for a time series. The earlier you start, the more context you have when it really matters.
This article does not replace medical advice. For abnormal blood values or symptoms, consult a doctor.
Article FAQ
- Do I need all blood values or are individual markers enough?
- Individual markers are a starting point, but the real value comes from a panel. A base set of 15–20 markers — blood count, lipids, thyroid, inflammation, iron status, vitamin status — covers the most common patterns. You can also track single markers like vitamin D or ferritin if you have a specific focus. See the biomarker baseline checklist for a recommended starting panel.
- How often should I update my values?
- For most healthy adults, two measurements per year provide a solid baseline. If you are actively supplementing, following a therapy, or optimizing a specific value, every 3 months is more useful. Testing too frequently — monthly without a specific reason — creates noise rather than signal. The rule of thumb: measure when something in your routine has changed, or at your regular interval.
- Can I add old blood test results retrospectively?
- Yes, and it is strongly recommended. If you enter lab reports from the past 2–3 years, you get a historical trend immediately — without waiting years for new measurements. Make sure to use the correct blood draw date (not the report date), the correct lab, and document the fasting status. An older result is just as valuable as a current one when the context is right.
- What is the difference between a lab reference range and an optimal range?
- The lab reference range defines what is measured in 95 percent of the 'healthy' population — it is statistical, not optimal. The optimal range describes the values at which people in studies show the best health, vitality, and longevity. A classic example: vitamin D is 'normal' from 20 ng/ml according to most labs. But 40–60 ng/ml is optimal for immune function and bone health. lab2go shows you both ranges so you can decide which target you are aiming for.
- What do I do with values I do not recognize?
- lab2go provides an explanation for each marker — what it measures, why it matters, and what influences it. If you cannot place a marker, start with the explanation text in the app. For deeper understanding, the guide to understanding blood values covers the most important marker groups. Unknown markers are often a good entry point into a topic.
- Do I need to fast before a blood draw?
- For a meaningful base panel: yes. Lipids (cholesterol, triglycerides), glucose, insulin, and liver values change significantly after a meal. For other markers like vitamin D, ferritin, or thyroid values, fasting matters less. Always document in lab2go whether the draw was fasted — that way you can compare measurements correctly.
- How do I handle results from different labs?
- Different labs use different measurement methods and have slightly varying reference ranges. When you switch labs, document that in lab2go with each measurement entry. Never directly compare a value from lab A with a value from lab B — instead look at the trend within the same lab. A crossover value when switching labs is ideal.
- Is my data safe with lab2go?
- Your health data belongs to you. lab2go processes all data in compliance with European data protection law (GDPR), without sharing it with third parties or using it for advertising. You can export and delete your data at any time. A dedicated export function lets you prepare your data as a clear overview for your doctor.
- Can I share my data with my doctor?
- Yes. lab2go offers an export function that prepares your measurement data — including trends and time series — as a clear summary. This saves time in medical appointments and ensures you have all relevant values at hand instead of relying on memory.
This article is for general information only and is not a substitute for individual medical advice, diagnosis, or treatment. Discuss any changes to your diet, supplementation, or medication with a qualified healthcare professional.

Maritta Schmid, Founder lab2go, Biohacker
Founder & Biohacker
Berlin, Germany
Connects health data, technology, and practical routines for real behavioral change.
Areas of focus
Discussion
Community comments coming soon. Until then, we welcome feedback and questions via email.
E-Mail anzeigen